
 Follow along as team member
 Please fill out the form below to access our Translation Options Hotsheet:
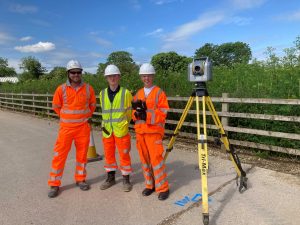
 Follow along as team member Erin Hull experiences her first time surveying!
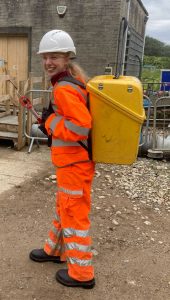
I arrived on site at a Yorkshire Water treatment site (not as smelly as you’d predict- fyi!) to meet Joe Haines and another work experience guy Louis, who I’d be spending the day with. The task set was to install a control network. This is so the construction company can use these points for site setting out works. Basically making sure everything is in the correct places.
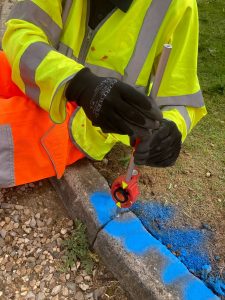
To begin with we went through a safety talk and site walk to ensure we were fully up to speed with the rules and regulations. This included wearing full PPE (hi-vis, glasses, steel toe capped boots, hard hat and gloves), we also carried round some gas monitors with us as the ammonia levels on site could fluctuate.
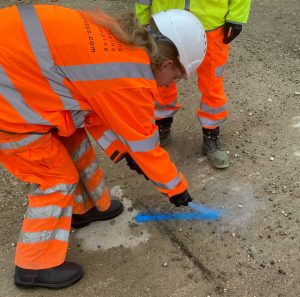 Firstly, we hammered some markers in the ground and spray painted around them with their numbers. Around the boundary of the site there were 8 points, ensuring that we could see a clear path back and forth to the previous point (so that the equipment could connect, ‘see’ each other as I like to think).
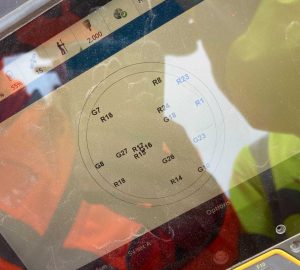 The two first points need to be a ‘known’ location so this requires the GNSS system. The GPS communicates with the satellites (see picture) to get the exact location of our point. With this it calculates the distance and angles between the two known, in order for us to apply this to all the other points on site.
 There is a reason that the GPS isn’t used to calculate all the points, but instead the total station and laser scanner come out. This has 3-4mm error range whereas the GPS has plus or minus 30mm accuracy! So better results with total station, which is very useful for everyone on site.
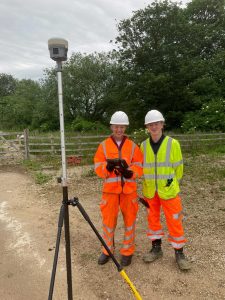
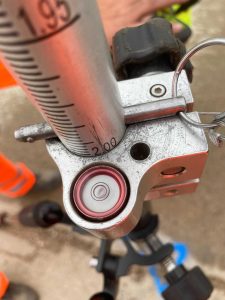 For each point onwards the total station needed to be levelled, this was done firstly using the eye tool. What was cool about the SX10 was there was a camera on the bottom which allowed you to see when the scanner lined up exactly over the point in the ground. This was a little challenging as you then have to level the top part too using 3 twisty rounds (the sighting and the trunnion). Once nearly perfect we measure the height of the scanner from the ground and walk away to the next point.
 At the following point we align the SX10 to clock onto the prism (picture) at a height of 0.100m. Here the SX10 takes two measurements, turning 180 degrees for the second to reduce error. This method is called traversing (going back and forth taking measurements).
For a couple of points where fences etc were in the way, we used a different prism with a total station. This has higher accuracy rather than extending the pole with the other prism.
So there you have it, my first surveying experience! I learnt so much, which will hopefully continue through the following months/years! Play it forward and teach someone you know or a local school about the joys of the geospatial industry… email erin@getkidsintosurvey.com to be added to our waitlist for the use of our presentation (aimed at 8-12 year olds).